
Point & shoot cameras are the easiest and cheapest way to get into film photography. They were made to be as simple and compact as possible so anyone could take nice photos regardless of skill level or experience.
One of the most common issues we see with new point & shoot users is that they use the camera outside of its intended purpose. If you’re getting blurry photos or your pictures are too bright or dark, it’s possible that the camera is doing its best and just wasn’t made for the particular use case you’re putting it in.
The truth is that a lot of point & shoots were made for consumers and families rather than professionals. Even some of the most popular models, like the Olympus Mju-II, were designed to be easy cameras for people to take on vacations rather than professional studio cameras.
Click below to watch the video, or continue scrolling to read the article!
Film compacts offer a unique experience that can’t be replicated with digital cameras or even other film cameras. As with any camera, though, there are pros and cons to using a compact. In order to get the most out of your point & shoot, it’s essential to learn a bit about your camera and photography in general. With that in mind, let’s find out how to take good photos with a film pint & shoot camera!
Understanding the Camera
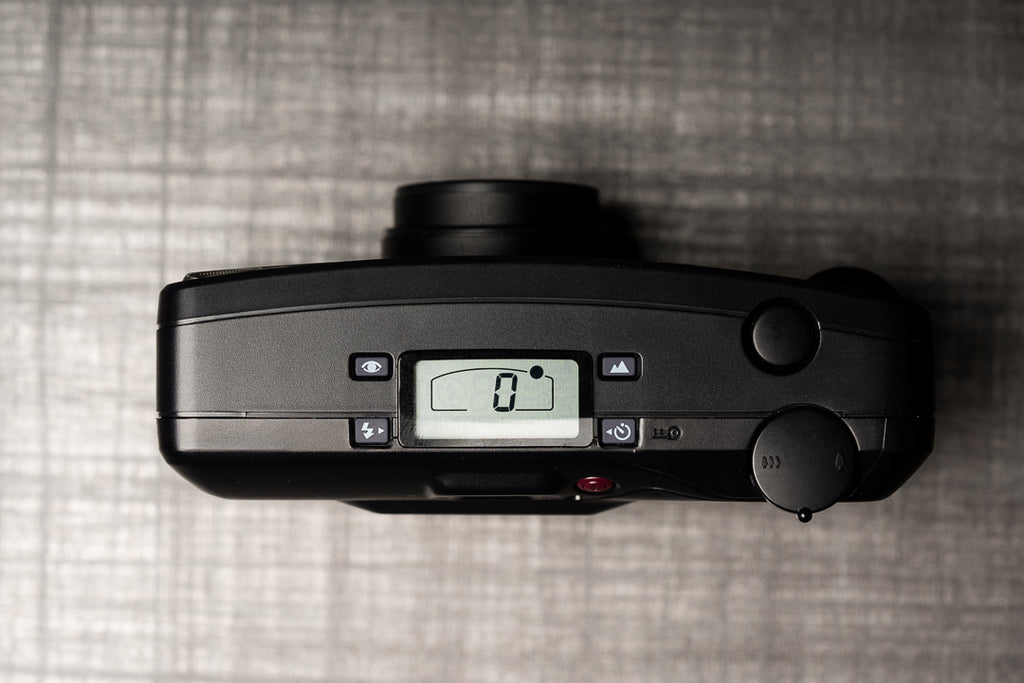
Hidden underneath the user-friendly exterior of a point & shoot is an extremely complex computer. There are systems for measuring light, controlling shutter speed and aperture, advancing the film, and more! These systems come to capture the right amount of light on the film to create a usable image.
Despite these advanced systems, it’s fair to describe point & shoots as limited cameras. Compared to other camera types, they offer fewer features and less creative control. Let’s talk about a few ways compact cameras are limited: few ISO choices, limited shutter speed options, slow lenses, and lack of manual control. We’ll also learn some photography basics along the way!
A great piece of advice to start with, though, is to read your camera’s manual. It may talk about special features or functions that you didn’t know the camera even had!
ISO
ISO is a measurement of the sensitivity of the film. We’ll talk more about film a bit later, but for now all you need to know is that a higher ISO number means the film is more sensitive to light. This means high ISO film is better in low light. Great. How does this affect compact cameras?
Well, point & shoots generally have a limited selection of possible ISOs in their computer systems. Some basic cameras will only have one or two different options (generally 100 and 400) despite film coming in flavors from ISO 6 to ISO 3200. This means that if you put film in these cameras that don’t fit within their ISO range, the camera won’t know what to do.
The famous Olympus Trip 35, for example, has an ISO range of 25 to 400. This covers most consumer film, but you’ll have issues with something like Kodak Portra 800 or Kodak T-Max 3200. It’s worth reading your camera’s manual to see what its range is.
Many compact cameras use an automatic system for detecting ISO called DX coding. The camera will “read” some markings on the film and use this to automatically decide the ISO. Even if your camera uses this system, it’s worth checking the manual to know the ISO range. If you put in film your camera doesn’t recognize, it won’t expose properly.
Shutter Speeds
Next, let’s talk about shutter speeds. The shutter controls how long the film is exposed to light, normally measured in fractions of a second. The longer the shutter is open, the more light makes it to the film. This means that in darker areas you’ll need slower shutter speeds and vice versa in bright areas. Makes sense, right?
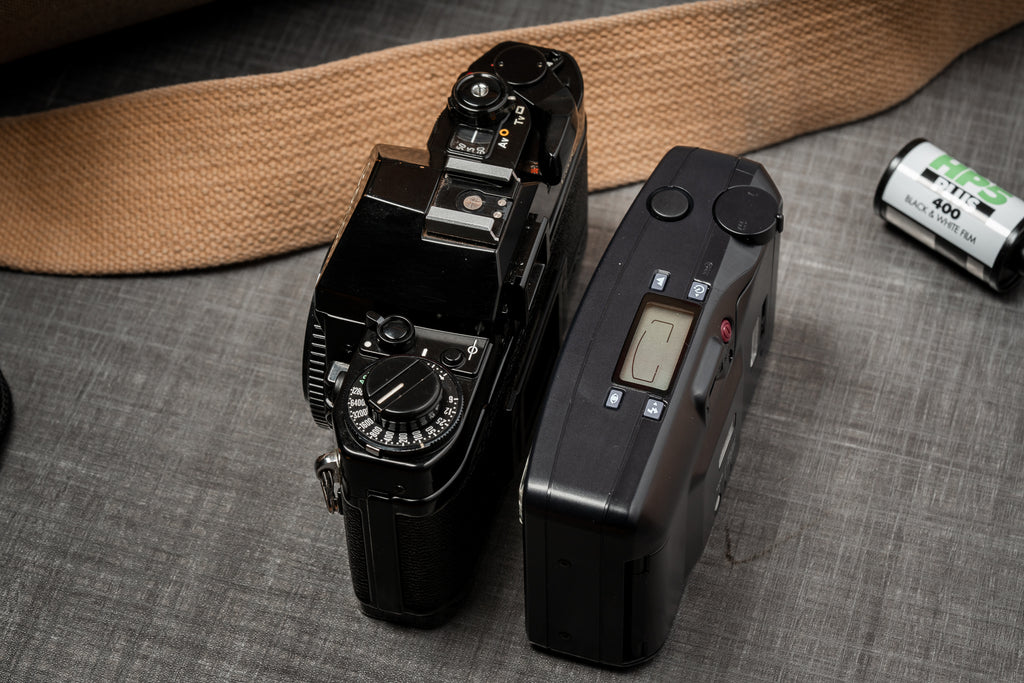
A standard SLR like the Canon AE-1 has a shutter speed range of 1 second to 1/1000th of a second. A professional camera, like the Nikon F4, has a range of 4 seconds all the way to 1/8000th of a second. This gives the user a wide variety of options for different light levels and creative control.
The Olympus Trip 35 I mentioned just a second ago? It has two shutter speeds, 1/40th and 1/200th of a second. This was done to save costs and make the camera simpler to manufacture. The famed Contax T2, which is one of the most “professional” compacts ever made, has a range between 8 seconds and 1/500th of a second.
It may not sound like a big issue, but it’s important to remember that you can’t control the shutter speed on a compact camera. On most models you won’t even know what speed the camera will pick until the shutter is fired. With larger cameras like the SLRs above, the user has full control of the speeds and can use this for creative control.
The effect of this limitation is that compact cameras will generally struggle in extreme light. When things are too bright or too dark, your point & shoot may not have the shutter speed range to take a good photo.
A brief aside about shutter speeds; it’s not recommended to hand-hold a camera when using slow shutter speeds. Some newer compacts will have a camera shake indicator when they’re going to use a shutter speed slower than about 1/30th of a second. Some people are more stable than others, but when the shutter is open for a longer period of time it’s easy to shake the camera and end up with blurry photos.
Slow Lenses (Aperture)
How can a lens be slow if it can zoom, focus, and take a photo in just a second or two? Well, let’s get a bit technical and talk about aperture.
Aperture means an opening, hole, or gap. In this context, it happens in the lens. When a photo is taken, lenses have a series of metal blades that open or close to let a specific amount of light in. So shutter speeds control how long the film is exposed to light and aperture controls the amount of light that gets to the film. These two work together to properly expose the film.
Aperture, though, affects how the photo looks more than shutter speed does. Lower aperture numbers (which confusingly let in more light) mean a more shallow depth of field. If you’ve seen photos with soft, creamy backgrounds and sharp subjects, a low aperture number was used. It’s a lovely effect, but lower aperture numbers require larger lenses.
The Canon AE-1 we talked about earlier would normally come with a 50mm f1.8 lens. This f1.8 describes the widest possible aperture. The Olympus Mju-II has a 35mm f2.8 lens. The f1.8 Canon lens lets in quite a bit more light than the Olympus f2.8 one, and can thus also produce more smooth backgrounds.

The difference between f1.8 and f2.8 isn’t that much, but it’s a much more noticeable disadvantage with a zoom lens compact camera. The Olympus Mju-II Zoom 115 has a 38-118mm f4.5-9.7 lens. This means that the widest possible aperture is f4.5 at 38mm and f9.7 at 118mm. F9.7! We could use math to calculate just how much less light that is than f1.8, but I’ll just tell you now that it’s a lot.
As with shutter speed, this affects a point & shoot’s ability to properly expose a photo in extreme light. Slow lenses will make it much harder to get good photos in low light without using a flash. When a camera can’t open the aperture any wider, it’ll have to use a slower shutter speed to compensate. As we said earlier, this opens up the possibility of camera shake and other issues.
A good piece of advice is to use a tripod or rest the camera on an object if you’re zooming in. Stabilizing the camera will let it use a slower shutter speed without shaking.
Lack of Manual Control
We’ve already talked about this, but one of the main limitations of a compact is the lack of control the photographer gets. It’s perhaps unfair to blame a point & shoot for this, though, because it wasn’t designed to be controlled. These cameras were designed to be used without much thought or technical knowledge from the user, who was supposed to literally “point” the camera and “shoot”!
Some high-end, popular point & shoots like the Contax T2 or Leica Minilux offer some forms of manual control, but most are limited to control over flash modes. It’s a blessing and a curse, basically. The user sacrifices creative control for simple operation.

One particular area where this affects use is with bright, high-contrast scenes. These scenes combine dark shadows and bright highlights and can be difficult for a camera to understand and interpret. The automatic systems inside a point & shoot may struggle with choosing between properly exposing the highlights or shadows, leading to poor overall exposure. The bigger issue, though, is that the camera is making that choice for the user.
With an SLR or other professional camera, the photographer can use math to calculate proper exposure or decide how they want the shot to look. With a point & shoot, the camera does all that thinking for you and may not make the same decision you would. This can be frustrating with film because you won’t realize the photo didn’t come out how you wanted it until much later when you get the film developed. It’s a good idea to avoid high-contrast situations like this with a fully automatic camera.
Now that we understand a bit more about the technical limitations of our point & shoot cameras, let's talk about film!
Picking the Right Film
We talked briefly about film above when discussing ISO, but your photos are affect by so much more than just the film’s sensitivity. Film stocks have unique color, grain, and detail that make them stand out from one another. There’s a film stock for every purpose and budget!
ISO, Grain, & Color
As mentioned above, ISO relates to the sensitivity of a film stock. Higher ISO numbers mean a more sensitive film, which generally correlates to better low-light performance. Kodak Portra 800, for example, is designed to be used in lower light than Kodak Portra 160 despite both being “Portra”. The same is true of consumer films like Kodak Gold 200 and Ultramax 400.
The downside of low light performance is larger, more visible grain. If it helps, you can think of it like the Sony A7 line, where the video-focused “Sensitivity” line (A7S, etc) has fewer pixels in the same area than the resolution-focused models. These pixels are larger, which allows them to be more sensitive in a similar manner to the larger grain of high-ISO film. It’s not a perfect analog, but maybe it’ll help you!

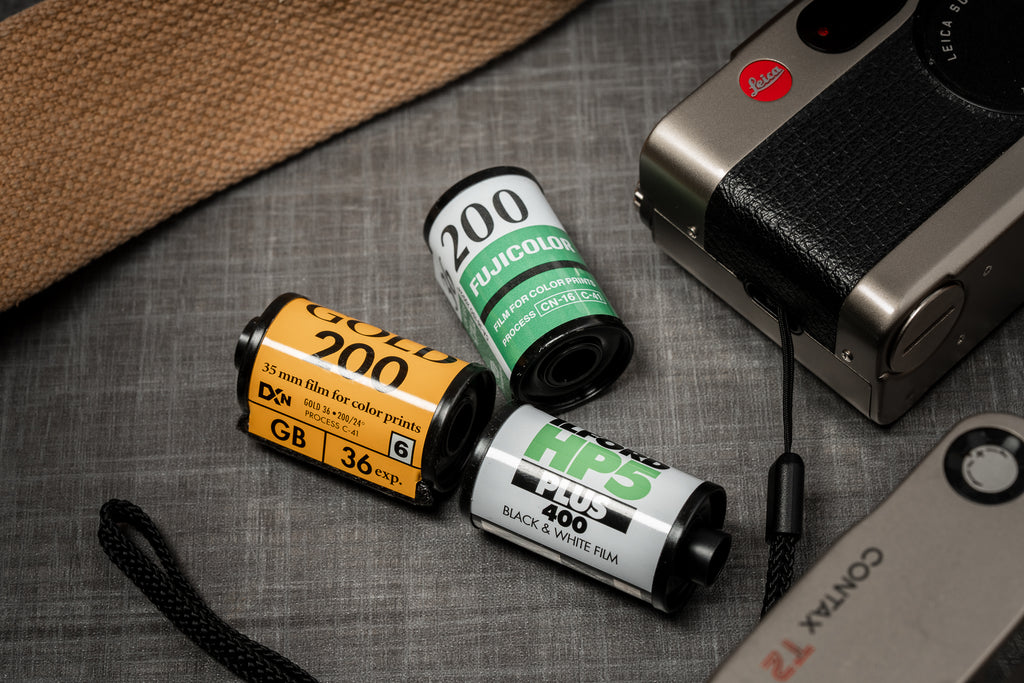
Different film stocks will also have different color profiles. Kodak Ektar 100 is famous for its vibrant reds and greens, whereas Kodak Portra 160 is more muted, accentuating pastel blues and purples more than Ektar. Despite these films having similar ISO numbers, photos from them are noticeably different. Black and white films also have differences in how they render different shades.
Understanding how different films render light and what a film’s intended purpose is can help us make better photos. Kodak Ektar 100 is much better suited for a bright, sunny day in the forest than Kodak Portra 800 or T-Max 3200. These higher-ISO films, though, will do much better at night or indoors than Ektar could. Kodak Portra in general is made with portraiture in mind (hence the name!), so the color profile of these films is generally favorable for photos of people. If you use something like Kodak Ektar, you can end up with skin tones that look unnatural.
Professional Vs. Consumer Film
For the pros, Kodak and Fuji spare no expense to make flexible, color-accurate films with detailed shadows and lovely color palettes. This, of course, came with a higher cost. For those who don’t need this type of color accuracy or dynamic range, there are consumer options.
Stocks like Kodak Gold 200 and Fujifilm Superia 400 are mass-produced for average consumers. These stocks are reliable and flexible but don’t offer the same depth of color or detail as their professional counterparts. In a sense, you really do get what you pay for.
That being said, consumer film can still take great photos. If you adjust your expectations and don’t expect colors to look the same between two film stocks, you’ll still likely be happy with your photos. For example, consumer film will do great at a party when using flash, but a professional film would be the right choice for a portrait session or more serious landscape photography.
Shooting & Care Tips
Make Sure It Works!
It may seem obvious, but give the camera a quick check and put batteries in it before you buy. If a camera has sat unused for decades, there’s no guarantee it’ll work now! We’ve seen cameras with fungus, scratches, broken parts, and even spiders living inside. It’s worth double-checking, especially if you find the camera in a thrift store or in a drawer at home.

If you’re going camera-hunting in thrift stores and flea markets, it’s a good idea to bring a few common batteries with you for testing. The most common ones you’ll want for point & shoots are CR123 and AA batteries. Bring a few of these around and you’ll at least be able to see if the cameras turn on.
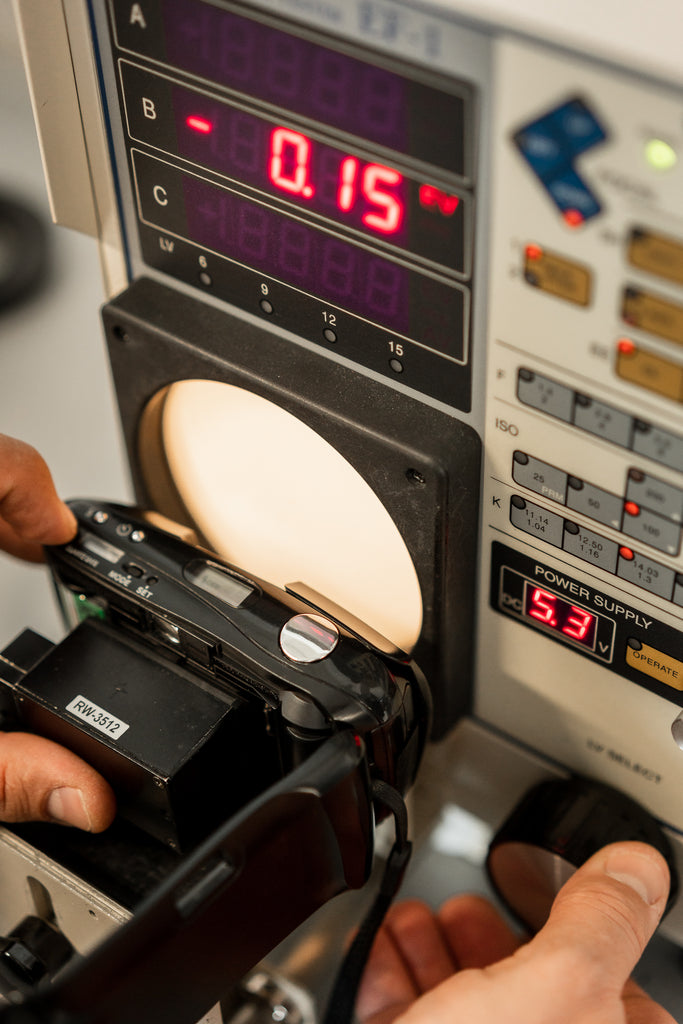
If you want a bit more security, you can buy from a seller that tests their equipment. Here at Kamerastore, we have period-appropriate testing equipment that gives us accurate readouts of shutter speeds and exposure. If you’re looking for a specific or high-end compact and you want to be sure it’s working 100%, it’s good to find and trust the experts. Read about our Item Condition Ratings here.
Of course, this comes with a higher cost. If you’re just getting into film, it’s probably better to try a cheaper camera and see if film photography is what you want to do. If you like it, you can find a nicer camera later!
Autofocus Lock
Most point & shoot cameras use a simple single-point focus system. This can be quite different to modern digital cameras or phones that can focus anywhere in the frame. Some newer film compacts will have three or four focus points, but most will focus on whatever’s in the center of the frame.
There will be some sort of indicator in the camera’s viewfinder to tell you where the focus point is. If you want the focused subject somewhere else other than center frame, you need to do some extra work.
Some cameras have what’s called autofocus lock built in. This means that you can focus on the subject by putting it in the center of the frame, half-pressing the shutter button, and moving the camera to put the subject where you want them in the frame.
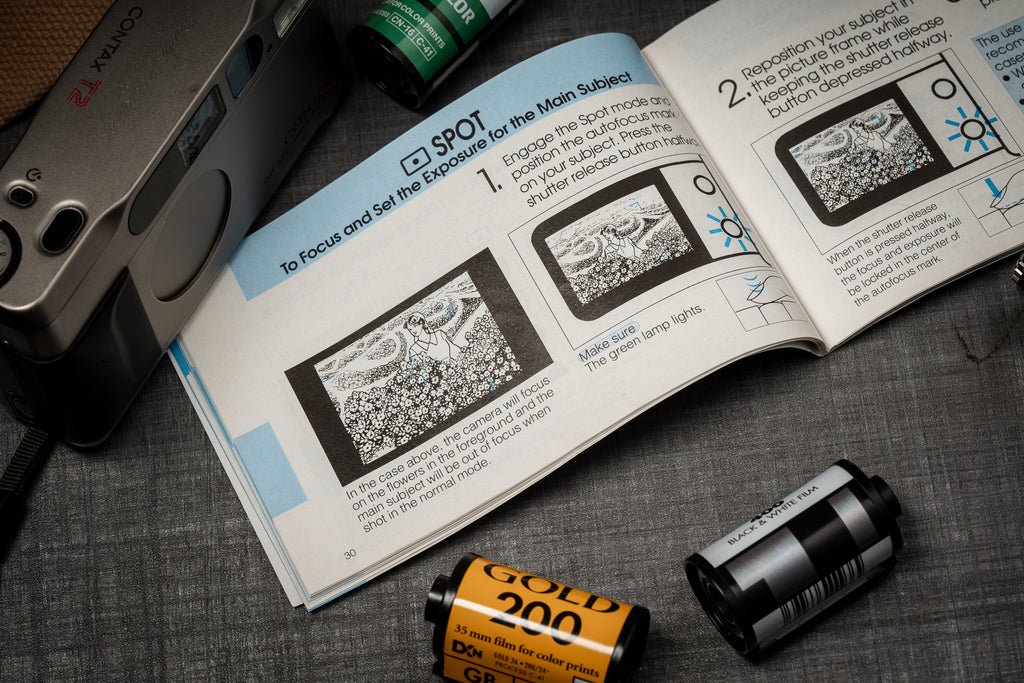
Not all cameras will have this lock, or may have a separate button that triggers it instead of the shutter button. Check your camera’s manual (if it’s available online) to see what features your camera has. If your camera has this, though, your creative options expand quite a lot! You can play more with the rule of thirds and other photographic principles.
Trust the Flash
As we mentioned above, most compact cameras don’t have the fastest lenses or shutter speeds. This means that low-light performance is a problem area. To combat this, most compacts come with a built-in flash that will activate automatically or prompt the user to activate it in low light.
Flash changes the look and feel of a photo dramatically, but if it’s a choice between a flash photo and an unusable, dark, blurry mess, most people would choose the flash photo. Oftentimes you can force the flash to stay off, but this requires understanding the limits of your camera very well.
Generally, it’s a good idea to trust the camera and use the flash when it says to. Once you’ve shot a few rolls and understand the camera a bit better, then you can experiment with forcing the flash on or off.

Exposure Compensation (via ISO)
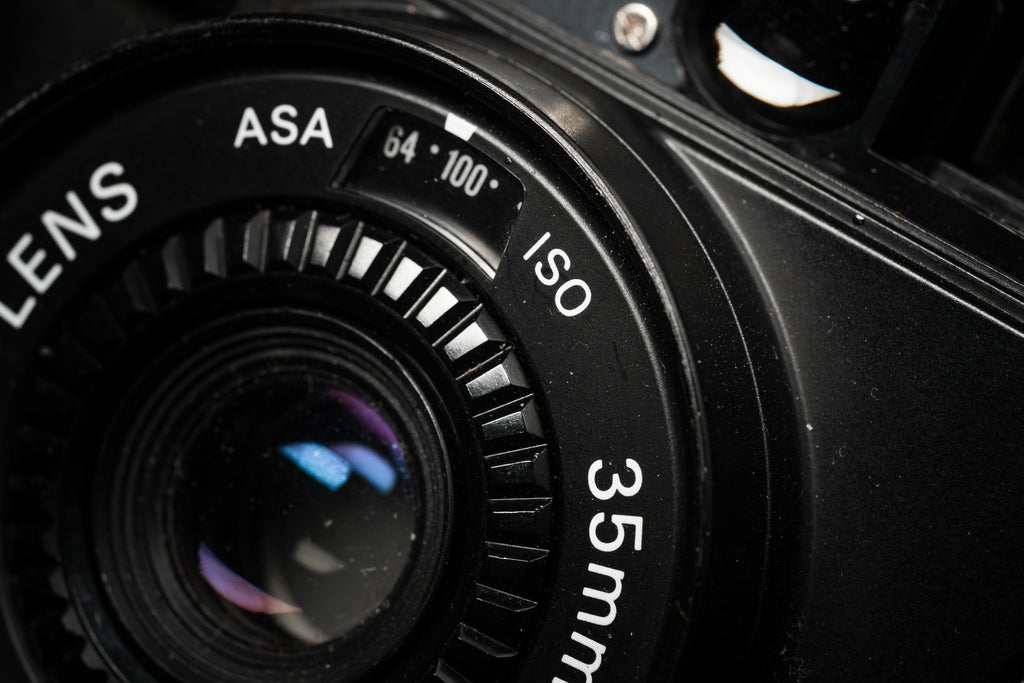
Although point & shoot cameras don’t often have manual controls, some can be tricked into exposing differently by changing the ISO on the camera. This only applies if your camera has a way to adjust ISO manually, either through a physical dial or an electronic compensation system. A great example is the Nikon L35AF, which has a physical dial around the lens that lets the user set the ISO manually.
So we lie to the camera to make it expose differently! You can use this to achieve different creative results, such as overexposing color film slightly by setting the ISO to 100 when using ISO 200 film. Many people like the look of overexposed film. You can also “push” black & white film to higher ISOs to use them in low light. Ilford HP5+, for example, can be reliably shot at 1600 with usable results!
This is, again, a pretty advanced technique. Shoot a few rolls normally before playing around with ISO changes. It’s easy to make mistakes and ruin shots by adjusting things without understanding the effects, after all! Also be sure to tell your lab when you’ve shot a roll at a different ISO, as they’ll have to process the roll differently too.
Conclusions
At the end of the day, using a point & shoot is an exercise in compromise. They weren’t made to take professional photos, so expecting them to match the quality of something that has many more features (and a higher price!) is a bit unfair. In some situations, the disadvantages of a compact may outweigh the advantages and vice versa.
If you find yourself frustrated with the images from your compact, it’s important to ask yourself a few questions. Is the camera working properly? Is the camera capable of making the types of images I want to make? Did I choose the right film for the situation? It’s possible that a rangefinder or SLR may be a better choice, or perhaps using a different film will give you better results.
Despite their limitations, a film point & shoot can be a great addition to your camera bag. Hopefully, this guide has shown some of the benefits and issues with using compact cameras as well as helped you understand how to work with or around these features. With this knowledge in hand, you can take great photos with your point & shoot film camera!
0 comments